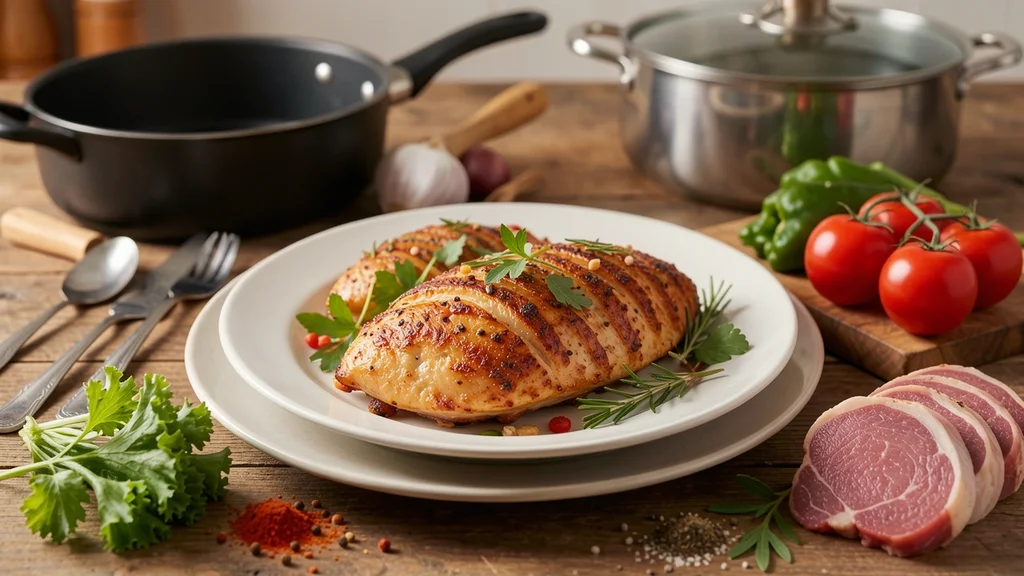
Achieving perfectly juicy chicken breast in the air fryer can seem like a culinary tightrope walk. Too little time and it’s undercooked, too much and it’s dry and rubbery. But fear not, because mastering the art of how to cook juicy air fryer chicken breast: temp & time is simpler than you think.
This guide will walk you through the essential temperature and time settings, essential prep steps, and common pitfalls to avoid, ensuring every piece of chicken comes out tender, flavorful, and incredibly moist. Get ready to transform your weeknight meals with consistently delicious results.
The key to juicy air fryer chicken breast lies in precise temperature and timing, typically around 375°F (190°C) for 18-22 minutes for average-sized breasts, with an internal temperature of 165°F (74°C). Proper resting is also crucial for retaining moisture.
Perfecting the Temperature for Tender Chicken
The ideal temperature is your first line of defense against dry chicken. Air fryers work by circulating hot air rapidly, which can easily dry out lean proteins like chicken breast if the temperature is too high or the cooking time is excessive. A common sweet spot for chicken breast is 375°F (190°C). This temperature is hot enough to cook the chicken efficiently, achieving a nice exterior sear, but not so hot that it incinerates the outside before the inside is cooked through. Some recipes might suggest higher temperatures for crispier skin, but for pure tenderness and juiciness, sticking to this moderate heat is advisable.
Here’s a breakdown of why temperature matters so much:
- High Heat (400°F / 200°C and above): Can lead to a quickly browned exterior but an undercooked, dry interior. It’s best reserved for thinner cuts or when you want a very crispy coating.
- Medium Heat (375°F / 190°C): Provides a balanced cooking environment, allowing the chicken to cook evenly from edge to center while developing a pleasant golden hue.
- Lower Heat (Below 360°F / 180°C): May result in a longer cooking time, potentially leading to moisture loss over an extended period. It’s less ideal for achieving that perfect juicy texture in a relatively short air fryer cooking cycle.
It’s also worth noting that air fryer models can vary in their actual temperature output. It’s a good practice to use an oven-safe thermometer to calibrate your air fryer if you suspect its readings are off, ensuring you’re truly cooking at the target temperature.
Calibrating Your Air Fryer’s Heat
Before you commit to a recipe, consider running a calibration test. Place an oven-safe thermometer in your air fryer basket and preheat it to 375°F (190°C) for about 5 minutes. Check the thermometer’s reading.
If it’s significantly off, you’ll need to adjust your air fryer’s dial accordingly for future cooks. For instance, if your air fryer reads 375°F but the thermometer shows 350°F, you’ll know to set your air fryer to 400°F to achieve the desired 375°F internal cooking temperature.
Mastering the Cooking Time for Juiciness
Once you’ve dialed in the temperature, timing becomes the next critical factor. For standard boneless, skinless chicken breasts that are about 6-8 ounces each, a cooking time of 18-22 minutes at 375°F (190°C) is a reliable starting point. However, this is not a rigid rule. The thickness of your chicken breast plays a significant role. Thicker breasts will require longer, while thinner ones will cook faster. The most foolproof method is to use an instant-read meat thermometer.
The magic number for safely cooked and juicy chicken breast is an internal temperature of 165°F (74°C). Always ).
Here’s a table to guide your initial timing based on thickness:
| Chicken Breast Thickness |
Approximate Cooking Time at 375°F (190°C) |
Target Internal Temperature |
| 1 inch |
15-18 minutes |
165°F (74°C) |
| 1.5 inches |
18-22 minutes |
165°F (74°C) |
| 2 inches |
22-26 minutes |
165°F (74°C) |
Always check the temperature with a thermometer, as visual cues can be deceiving.
The Crucial Rest Period
Even if you pull the chicken out at exactly 165°F (74°C), allowing it to rest for 5-10 minutes after cooking is essential. During cooking, the juices are pushed to the center of the meat. Resting allows these juices to redistribute throughout the breast.
If you cut into it immediately, all those precious juices will run out onto your plate, leaving you with dry chicken. Tent it loosely with foil to keep it warm while it rests.
Preparation Steps for Maximum Juiciness
Before the chicken even sees the air fryer, a few simple preparation steps can make a world of difference in its final juiciness and flavor. These aren’t strictly necessary if you’re short on time, but they elevate the outcome significantly.
Here are key prep techniques:
- Even Thickness: If your chicken breasts are uneven, pound them to a uniform thickness. This ensures they cook at the same rate, preventing some parts from overcooking while others are still raw. You can use a meat mallet or even a rolling pin for this.
- Brining: A wet brine (saltwater solution) or a dry brine (salting the chicken and letting it sit) helps the chicken retain moisture. For a wet brine, dissolve about 1/4 cup of salt and 2 tablespoons of sugar in 4 cups of water, then submerge the chicken for 30 minutes to 2 hours. For a dry brine, generously salt the chicken and let it sit, uncovered, in the refrigerator for at least 30 minutes, or up to overnight.
- Marinating: Marinades not only add flavor but can also tenderize the meat. Opt for marinades that contain an acidic component like lemon juice, vinegar, or yogurt, along with oil and seasonings. Marinate for at least 30 minutes, but avoid marinating for too long in highly acidic marinades, as this can turn the chicken mushy.
- Seasoning: Don’t underestimate the power of a good seasoning blend. A simple mix of salt, pepper, garlic powder, and paprika can work wonders. For extra flavor, consider adding herbs like rosemary or thyme.
The most effective method for ensuring juiciness is often a combination of these techniques. For example, a quick brine followed by a flavorful rub can yield exceptional results.
The Science Behind Brining
Brining works through osmosis and diffusion. In a wet brine, salt ions penetrate the muscle fibers of the chicken. This process helps the protein structure relax, allowing it to hold more water.
As the chicken cooks, it releases less moisture, resulting in a juicier final product. Dry brining achieves a similar effect by drawing out some surface moisture, concentrating the natural flavors, and then reabsorbing the salt and moisture back into the meat.
Tips for Even Cooking and Browning
Beyond temperature and time, a few practical tips can ensure your chicken breast cooks evenly and develops a beautiful golden-brown exterior. The goal is to create a perfect balance of internal moisture and external appeal.
Here are some essential tips:
- Single Layer Cooking: Never overcrowd your air fryer basket. Chicken breasts need space for the hot air to circulate around them. If you stack them or pack them too tightly, they will steam rather than fry, leading to uneven cooking and a pale, unappealing appearance. Cook in batches if necessary.
- Flip Midway: For the most even cooking and browning, flip the chicken breasts halfway through the cooking time. This ensures both sides get adequate exposure to the hot air. Typically, this is around the 9-12 minute mark for standard breasts.
- Preheating: Always preheat your air fryer. Just like a conventional oven, preheating ensures the appliance is at the correct temperature when the food goes in, leading to more consistent cooking results from the start. Aim for 5 minutes of preheating at your target temperature.
- Pat Dry: Before seasoning or cooking, pat your chicken breasts completely dry with paper towels. Excess moisture on the surface will prevent browning and crisping, as the air fryer will spend time evaporating that moisture instead of cooking the meat.
These small adjustments can significantly impact the final texture and appearance of your air fryer chicken breast, making it look as good as it tastes.
Why Air Circulation is Key
Air fryers are essentially small convection ovens. Their effectiveness hinges on the rapid circulation of hot air. When the basket is overcrowded or the food isn’t flipped, this circulation is disrupted.
This leads to hot spots and cold spots within the cooking chamber, resulting in unevenly cooked food. Ensuring adequate space and flipping the food are the easiest ways to optimize this crucial air circulation.
Avoiding Common Air Fryer Chicken Mistakes
Even with the right temperature and time, a few common mistakes can derail your efforts to achieve juicy chicken. Being aware of these pitfalls can help you troubleshoot and prevent them in the future.
Here are the most frequent errors:
- Not Using a Thermometer: Relying solely on visual cues or cooking time is the biggest mistake. Chicken breast can look cooked but still be underdone in the center, or it can be cooked to perfection and then overcooked if left for an extra minute. An instant-read thermometer is your best friend.
- Overcrowding the Basket: As mentioned, this is a cardinal sin in air frying. It leads to steaming, uneven cooking, and a lack of desirable browning.
- Skipping the Rest: Cutting into the chicken immediately after cooking is a recipe for dryness. Patience during the resting period is vital for juiciness.
- Using Frozen Chicken: While some air fryers can handle frozen items, chicken breast is best cooked from thawed. Frozen chicken will take significantly longer to cook, increasing the risk of the outside drying out before the inside is safe to eat. Always thaw chicken completely before air frying.
- Ignoring Model Variations: Air fryers are not all created equal. Wattage, basket design, and internal airflow can differ between brands and models. What works perfectly for one person might need slight adjustments for another.
Learning from these mistakes will help you refine your air fryer technique and consistently produce excellent results.
Warning: Never serve chicken that has not reached an internal temperature of 165°F (74°C). Undercooked chicken can harbor harmful bacteria. Always verify doneness with a meat thermometer.
Variations and Flavor Boosters
Once you’ve mastered the basic technique for juicy chicken breast, you can start experimenting with different flavors. The versatility of the air fryer allows for a wide range of culinary creations.
Consider these flavor additions:
- Spicy Kick: Add cayenne pepper, red pepper flakes, or a dash of hot sauce to your marinade or rub for a spicy chicken breast.
- Herbal Infusions: Incorporate fresh or dried herbs like rosemary, thyme, basil, or oregano into your seasoning blends or marinades.
- Citrus Zest: Lemon, lime, or orange zest added to the rub or marinade provides a bright, fresh flavor that complements chicken beautifully.
- Smoky Flavors: Smoked paprika or a touch of liquid smoke in your rub can give your chicken a delicious smoky profile.
- Asian-Inspired: Marinate chicken in soy sauce, ginger, garlic, and a touch of sesame oil for an Asian-inspired dish.
- Mediterranean Delight: Use a marinade with olive oil, lemon juice, garlic, oregano, and a pinch of sumac for a Mediterranean twist.
When adding marinades or sauces, be mindful of sugar content, as sugars can burn easily in the high heat of the air fryer. If a marinade is particularly sugary, you might want to cook at a slightly lower temperature or for a shorter duration, and monitor closely.
Using Marinades Safely
Always marinate raw chicken in the refrigerator, never at room temperature. Discard any leftover marinade that has been in contact with raw chicken unless you plan to boil it thoroughly for at least one minute before using it as a sauce. This is a critical food safety practice to prevent cross-contamination.
Frequently Asked Questions
How long does it take to cook chicken breast in an air fryer?
For standard boneless, skinless chicken breasts (about 6-8 ounces each), it typically takes 18-22 minutes at 375°F (190°C). However, this can vary based on thickness. Always use a meat thermometer to ensure an internal temperature of 165°F (74°C).
Can I cook frozen chicken breast in the air fryer?
It’s generally not recommended for optimal juiciness. Frozen chicken breast will take significantly longer to cook, increasing the risk of the exterior drying out before the interior is safely cooked. Thaw chicken completely for best results.
What internal temperature should chicken breast reach?
Chicken breast is safely cooked and at its juiciest when it reaches an internal temperature of 165°F (74°C). Always use an instant-read meat thermometer inserted into the thickest part of the breast to confirm.
Do I need to flip chicken breast in the air fryer?
Yes, flipping the chicken breast halfway through the cooking time (around 9-12 minutes) is highly recommended. This ensures even cooking and browning on both sides for the best texture and appearance.
How do I prevent my air fryer chicken breast from being dry?
Ensure you’re using the correct temperature (around 375°F/190°C), don’t overcook it (check with a thermometer!), and always allow the chicken to rest for 5-10 minutes after cooking. Techniques like brining or marinating before cooking also significantly help retain moisture.
Final Thoughts
Consistently achieving juicy air fryer chicken breast is all about understanding the interplay of temperature, time, and proper technique. By adhering to a temperature around 375°F (190°C), monitoring the internal temperature with a thermometer, and allowing adequate resting time, you can transform this lean protein into a culinary delight. Remember to prepare your chicken properly, cook it in a single layer, and flip it for even results. With these guidelines, you’re well on your way to air fryer chicken perfection every time.